Growing Sarracenia from Seed in Ireland: Cold Stratification and Sowing
A patient, source-backed way to cold-stratify and sow Sarracenia seed, with practical notes for a bright indoor or protected Irish growing setup.
By Bog & Bite · Published 19 October 2026
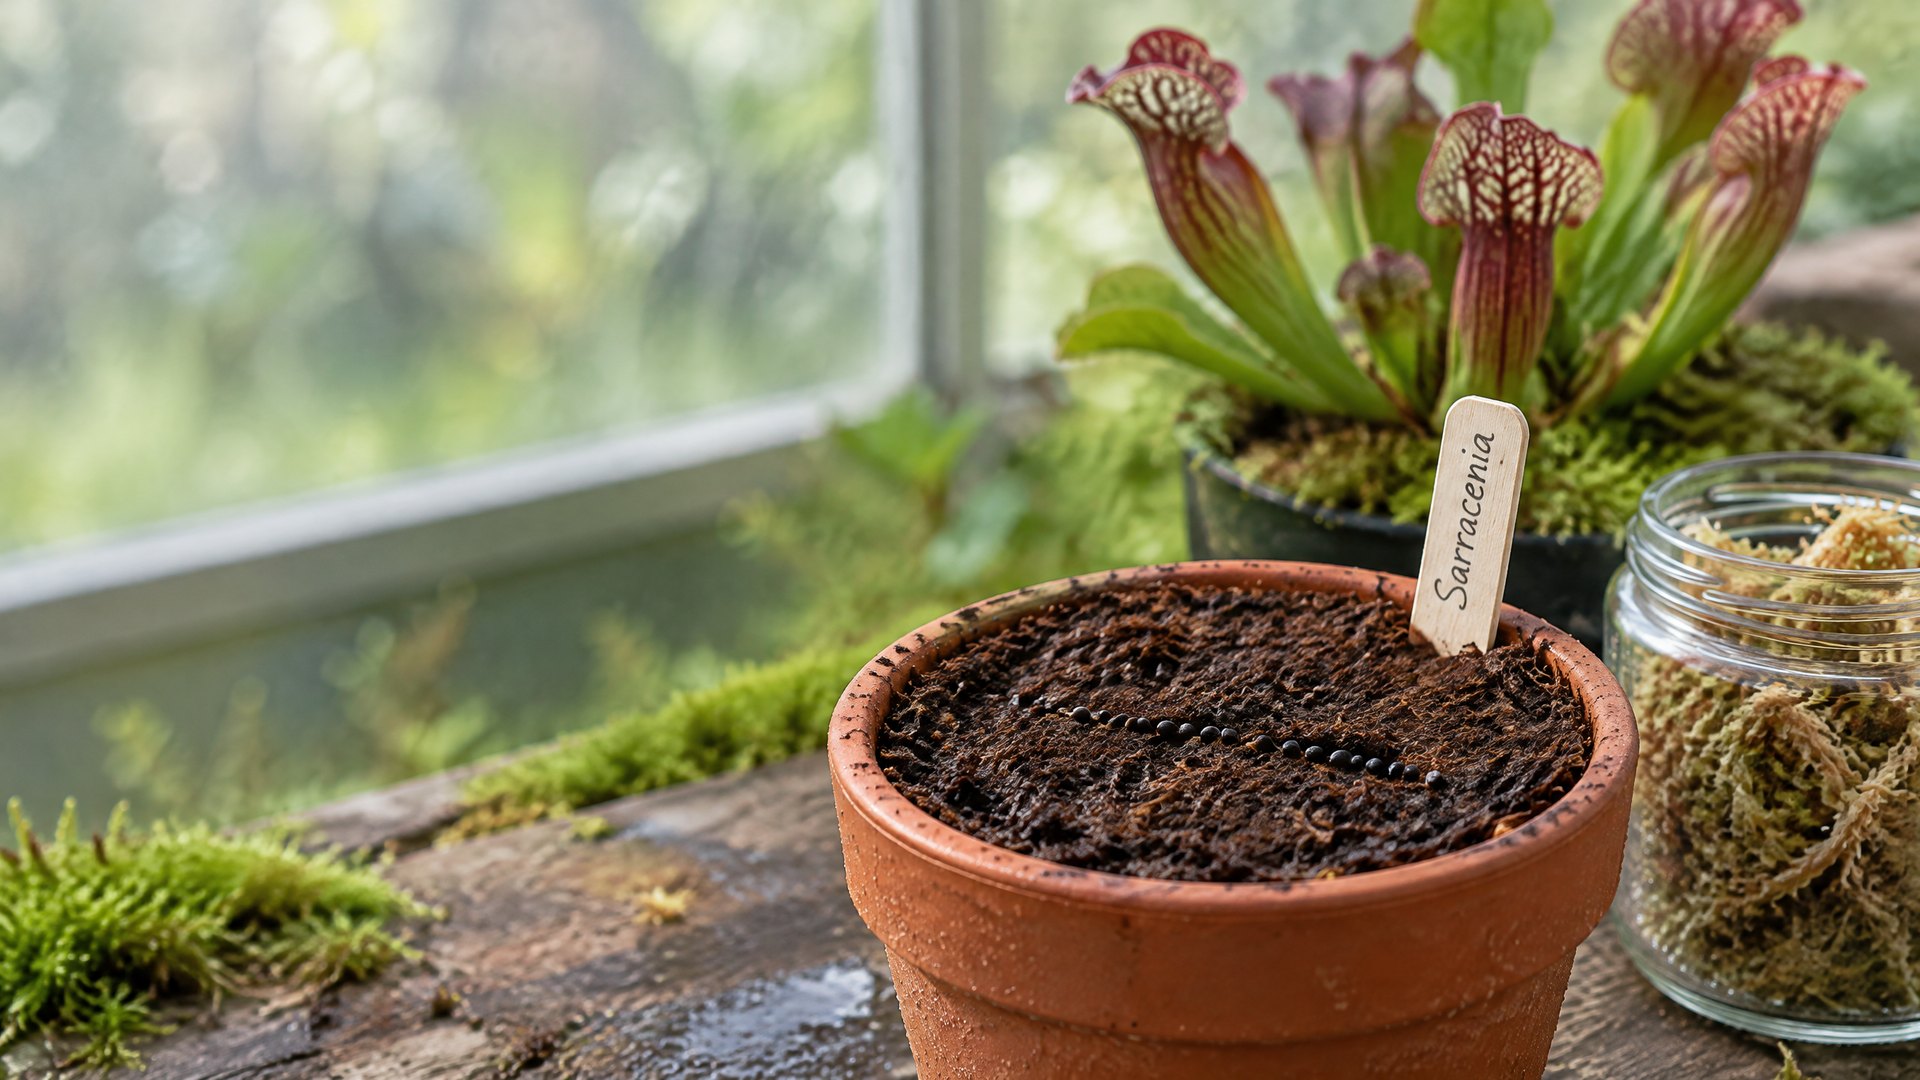
Starting Sarracenia from seed is a long project, not a quick way to fill a patio bog. The reward is that you can watch a plant develop from its first small pitchers and learn how the seed batch responds to your own growing space. The trade-off is patience: seeds, seedlings and mature flowering plants operate on different time scales.
For an Irish grower, a simple refrigerator stratification method can make the first stage easier to control than relying on an outdoor pot through a wet winter. It does not guarantee germination, and it does not make every seed lot behave the same way. It gives the seed the cool, damp interval that specialist guidance describes before you move it into warm, bright growing conditions.
This guide is for temperate North American pitcher plants in the genus Sarracenia. It complements Sarracenia in Ireland, dividing Sarracenia, and the North American pitcher plant hub; it is not a substitute for confirming the name and provenance of the seed in front of you.
Why cold and damp matters
Sarracenia seed is dormant when it is dispersed. A refrigerator is useful only when it recreates the relevant part of winter: cool and moist conditions. Storing a dry seed packet in the fridge is storage, not stratification. The International Carnivorous Plant Society (ICPS) explains that moisture needs to pass the waxy seed coating and seed coat before the embryo can begin the process that leads to germination. ICPS seed guide
The practical range is not identical for every kind of Sarracenia. The ICPS gives four to eight weeks as a useful range in its general sowing guide, while its species-specific article gives four weeks as a standard starting point and notes five weeks for Sarracenia purpurea subsp. purpurea. A study across several Sarracenia taxa also found that cool, moist pretreatment changed germination timing and totals differently between species and populations. Treat the calendar as a starting framework, not a promise. ICPS sowing guide Ellison study
Start with labelled, viable seed
Before you prepare a pot, write down the species or cross exactly as it was supplied, the source, and the date. This is especially helpful with open-pollinated seed, where seedlings can vary. It also prevents a common propagation mistake: finding a row of young plants later and having no reliable record of what they are.
If seed has already been kept for some time, avoid assuming it will behave like freshly collected seed. The ICPS notes that storage conditions affect viability. Store unopened seed packets cool and dry until you are ready to begin the damp treatment, then make one labelled batch at a time rather than mixing names or dates.
A simple refrigerator stratification method
Use clean, low-mineral water. If you need to review what that means in your own home, start with the complete guide to water for carnivorous plants and rainwater for carnivorous plants.
- Place a small amount of finely chopped sphagnum moss in a clean small bag. If sphagnum is unavailable, damp fertiliser-free peat is an alternative mentioned by the ICPS.
- Moisten the material with suitable water. It should be damp throughout, but there should not be a pool of free water in the bag.
- Scatter the seed through the damp material and label the bag with the plant name and the date it entered the refrigerator.
- Place the bag in a frost-free refrigerator for the planned treatment period. Do not put it in a freezer.
- Check only as needed. The aim is a stable, moist environment, not repeated handling. If mould, an obvious drying problem or unexpected sprouting appears, record what you see before making a measured change.
This procedure is deliberately modest. It is more reliable for a first attempt than trying several unlabelled shortcuts at once, because you can identify which seed batch received which treatment.
Prepare a low-nutrient sowing pot
Use a pot with drainage and a carnivorous-plant medium that is free from fertiliser. The ICPS describes equal parts sphagnum peat and coarse sand as a default seed-starting mix, with finely chopped sphagnum as an optional surface layer. This is not a reason to use ordinary enriched potting compost, which is formulated for conventional container plants rather than nutrient-poor bog species. ICPS sowing guide
The Royal Horticultural Society also recommends specialist low-nutrient compost for Sarracenia and rainwater where possible. RHS growing guide If you make your own mix, work carefully with damp ingredients and avoid creating dusty conditions. Coarse materials and a clear label are more useful at this stage than a complicated recipe.
Sow on the surface after stratification
When the treatment period is complete, prepare the pot before you open the seed bag. Smooth the damp surface lightly; do not compress it into a hard crust. Spread the seeds with enough space that you can observe individual seedlings later. The ICPS describes surface sowing and a light mist rather than burying Sarracenia seed deeply.
Add a durable label with the plant name and sowing date. A label is part of the propagation method, not decoration. It gives you a reference point if germination is uneven, if two seed lots behave differently, or if you later move seedlings into individual pots.
A covered tray, clear storage box or similarly protected setup can help keep the medium from drying quickly. Do not place a sealed container in hard direct sun, where heat can build rapidly. Bright, stable conditions are more useful than dramatic temperature swings.
Give germinating seeds time and light
ICPS guidance describes a warm, bright growing phase after stratification and notes that germination can take several weeks under suitable controlled conditions. That does not establish a deadline for every pot. Seed age, species, pretreatment, temperature, light and the physical condition of the medium can all change the pattern.
A useful beginner routine is to inspect the pot on a regular schedule without constantly moving it. Check that the surface has not dried out, that the label is still legible and that algae, moss or mould are not taking over. Avoid responding to a slow pot by adding fertiliser, repeatedly repotting it or exposing it to extreme sun. Those changes make it harder to learn what is actually happening.
If you are using a light indoors, treat it as a controlled supplement rather than an automatic solution. The ICPS notes that a sunny window may not provide enough light for young Sarracenia. Read best grow lights for carnivorous plants in Ireland before changing an indoor light setup, and make one adjustment at a time.
What to expect from the first seedlings
Early Sarracenia seedlings are small. The first true leaves are pitchers, but they do not resemble a mature display plant straight away. Resist the temptation to judge the project by the height or colour of a new seedling after a few weeks. A labelled pot that stays evenly moist, receives appropriate light and develops firm new growth is a better sign than trying to accelerate every step.
The ICPS notes that a managed indoor seedling setup can keep juvenile plants under lights without dormancy for their first two years. That is an option for growers who can provide an appropriate controlled environment; it is not an instruction to force every seedling into the same routine. When eventually moving young plants outdoors, make the transition gradually and monitor them as you would any other plant leaving a protected space.
For the wider care picture, return to Sarracenia in Ireland and the Sarracenia plant hub. Those guides cover the mature plant’s light, water, container and seasonal needs in more detail.
Common seed-starting mistakes to avoid
- Dry refrigerator storage presented as stratification: the important combination is cool plus damp.
- Using enriched household compost: ordinary compost can introduce nutrients that do not suit bog-adapted plants.
- Burying seeds deeply: surface sowing makes it easier to keep tiny seedling emergence visible and matches the specialist method.
- Forgetting the label: you lose the information needed to compare seed lots and care routines.
- Treating an uneven pot as a failure on a fixed date: variation is normal; observe the conditions before changing them.
- Moving a covered pot into harsh direct sun: protective covers can trap heat quickly.
A calm first-season checklist
- Confirm the seed name and label each batch before stratification.
- Use a damp, not flooded, cold treatment.
- Sow onto a fertiliser-free carnivorous-plant medium after the treatment period.
- Keep the pot evenly moist with suitable low-mineral water.
- Provide bright, stable conditions and avoid a heat build-up under a cover.
- Record sowing and first-emergence dates instead of relying on memory.
- Let young plants establish before making major changes.
Continue learning
- Sarracenia in Ireland — Plan the eventual outdoor setup for young pitcher plants.
- Dividing Sarracenia in Ireland — Compare seed propagation with splitting a mature clump.
- The complete guide to water — Check water sources before mixing medium or filling trays.
- North American pitcher plants — Explore the plant hub for broader care information.
Research & sources
These references support the practical and conservation notes on this page.
- International Carnivorous Plant Society — Growing Sarracenia from Seed: Cold, damp stratification method; seed storage; sowing medium; germination and juvenile care context.
- International Carnivorous Plant Society — Sowing Carnivorous Plant Seeds Step-by-Step: Four-to-eight-week practical stratification range, low-nutrient seed media, labelling and protected sowing conditions.
- American Journal of Botany — Seed Size and Germination Requirements of Sarracenia Species: Primary study showing that cool, moist pretreatment response varies among Sarracenia species and populations.
- Royal Horticultural Society — How to Grow Carnivorous Plants: Specialist low-nutrient compost, rainwater guidance and seed propagation context for trumpet pitcher plants.
Frequently Asked Questions
Do Sarracenia seeds need cold stratification before sowing?
Most Sarracenia seed benefits from a cool, moist pretreatment before sowing. The International Carnivorous Plant Society describes refrigerator stratification in damp sphagnum or peat, rather than dry storage in a refrigerator.
How long should Sarracenia seeds be stratified?
The International Carnivorous Plant Society gives a practical range of four to eight weeks for Sarracenia and notes that some taxa can respond differently. A four-week treatment is a useful starting point, but seed species, provenance, age and conditions can affect the result.
Can I sow Sarracenia seed outside in Ireland?
It can be possible to overwinter protected pots outdoors, but a labelled refrigerator method gives a beginner more control over moisture, temperature and seed movement. If pots are outside, protect them from direct winter sun, animals and disruptive rain, and use suitable low-mineral water and specialist medium.
Do first-year Sarracenia seedlings need a winter dormancy?
The International Carnivorous Plant Society notes that seedlings can be raised indoors under suitable lights without dormancy for their first two years. That is a managed indoor approach, not a guarantee of faster growth, and outdoor or greenhouse seedlings should still be observed in their actual conditions.